
Today I make light up pop-up Christmas tree card using Chibitronics and Waffle flower crafts dies.
On today's Chibitronics blog, design team members are proposing attractive works using Waffle flower crafts products. I hope you will enjoy it!

I'm using these dies.

"Waffle flower crafts holiday words die"

What you need to make a light up card is like this.
"Chibitronics Red, Yellow, and Blue LED Sticker Pack"
"Chibitronics Pink, Orange and Green LED Sticker Pack"
"3V coin cell battery (CR2016)"
"5mm wide Copper tape"

I'musing these papers.
"Altenew woodgrain bark cardstock"
"Lawn Fawn ground coffee cardstock"
"Lawn Fawn noble fie cardstock"
"Papertey ink sheer basics vellum patterned paper collection"
"thin green paper"
"Tim Holtz kraft core metallic collection"

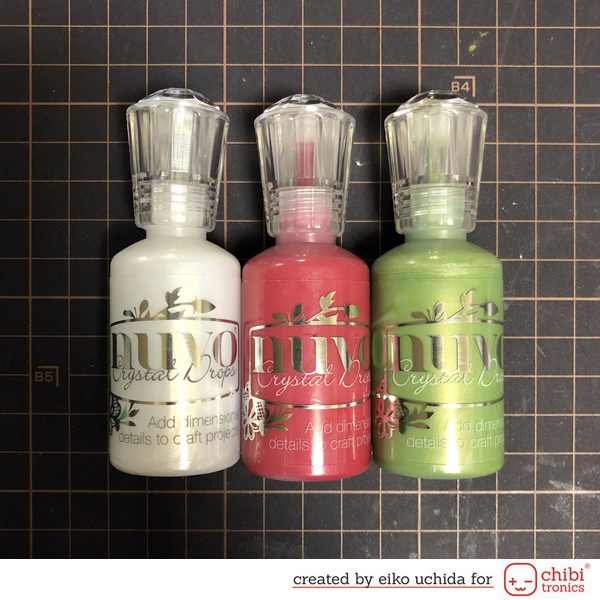
I'm using these supplies.
"NUVO crystal drops ivory seashell"
"NUVO crystal drops autumn red"
"NUVO crystal drops bottle green"
I will make the parts referring to the picture below.

- 4.25 x 11 inches woodgrain bark cardstock
- Die cut silver foil paper with the sentiment die.
- Die cut gold foil paper with star die.
- Die cut brown cardstock with pull tab and hexagonal dies.
- Three semicircular papers of the same size as the tabs of the tree.
- Die cut star patterned vellum with branch dies.
- Die cut green cardstock and thin green paper with tree and triangular dies.
~Assemble the tree~

- Fold along the score line of the tree part.
- Cut the small tab of the right side of the tree.
- Put the double-sided tape on the flap of the tree.
- Fold along the score line of the pull tab part.
- Make the valley fold at the center line of the hexagonal part.
- Make the mountain fold at the tab of the hexagonal part.
- Put the double-sided tape on the tab of the hexagonal part.
- Put the double-sided tape on the back of the tab of the pull tab part.
Fold the flap of the tree and draw a line
in the center of the tree.

~Assemble the pull tab mechanism~
Adhere the hexagonal part on the small tab
of the tree part.


Pass the pull tab through the semicircular
window of the tree. And trace the outline of the tree with a
pencil.

~Make the slit~

- Align the notch of the pull tab part with the edge of the semicircular part and trace the outline with a pencil.
- Draw a line at the center of the pull tab part.
- Cut the 1 mm width slit with a craft knife.
Pass the pull tab parts through the
semicircular window and mark the position of the slit.

~Make the switch part~

- Place the semi-circular part on the tab of the tree and fold at the line written on the tab.
- Place the folded part on another semicircular part and mark the folding line and fold it.
- Cut the protruding part.
- Cut the third semicircular part in the same shape as the tab. (This is a reinforcing part.)
- Put the double-sided tape on the back of the switch part and the reinforcing part.
- Adhere the switch part to the tab of the tree.
Mark the position of the battery inside the
tree.

~Basic circuit~
Draw the circuit with a pencil on the
outside of the tree.

- Mark the position of the Chibitronics.
- Connect the negative side electrode of Chibitronics to the switch part.
- Connect the positive side electrode of Chibitronics to the bottom of the tree.

- Connect the positive side circuit to the position of the battery inside the tree.
- The negative side connects to the position of the battery via the back of the tab of the tree.
Make the circuit on the pull tab part. Place the pull tab parts on the switch parts. Draw the circuit on the pull tab part. This circuit connects to the negative side circuit when pulling the pull tab part.

Put the double-sided tape on the position
of the battery.

Adhere the copper tape on the drawing path.

At the switch part, adhere the copper tape
on only the upper half of the switch part.

Adhere the copper tape to the lower half of
the switch part.

At the end of the switch part leave about 3
inch of copper tape and cut it. And pass the copper tape through the
semicircular window and adhere it on the back of the tab. At the position of the battery, peel off
the release paper, adhere the negative side copper tape, turn it back and cut
it.

Place the battery on the copper tape with
the positive side up.

Adhere the copper tape on the drawing path
on the pull tab part.


Adhere the red, green and orange
Chibitronics on the mark.

Insert the switch part into the slit of the
pull tab part and confirm


~Advanced circuit using effect sticker~

- The position of the battery is the same as for the basic circuit.
- Mark the position of the Chibitronics and effect sticker.
- Draw the circuit with a pencil.
- Connect the negative electrode of the upper and lower Chibitronics and the negative electrode of the effect sticker.
- Connect the positive electrode of upper Chibitronics, the negative electrode of middle Chibitronics, the positive electrode of lower Chibitronics, the signal pad of effect sticker.
- Connect the positive electrode of middle Chibitronics and the positive electrode of effect sticker and connect to the switch part.
- The circuit on the switch part is the same as the basic circuit.
Adhere the copper tape on the drawing path.

Place the battery on the copper tape with
the positive side up.

Adhere the Chibitronics and effect sticker
on the mark.

~Assemble the tree~
Place thin paper triangle parts on the
tree, hold down Chibitronics from above and mark.

Make the holes on the mark and put triangular parts on the tree.

Add the vellum branches to the tree.

Fold the tab at the top of the branch part
and pass it through the hole on the tree.

Peel off release paper of double-sided tape
on the tab of the hexagonal part and adhere the hexagonal parts inside the tree.

Insert the switch part into the slit of the
pull tab part.

Adhere reinforcing part to the switch
parts.

Add the star part to the top of the tree.

Decorate the tree with NUVO crystal drops.

I finished it!
When you pull the pull tab, the Christmas tree pops up and glows.
When you pull the pull tab, the Christmas tree pops up and glows.

The inside of the tree is like this.

If you are using the effect sticker, the LED flashes when you pull the pull tab.
If you are using the effect sticker, the LED flashes when you pull the pull tab.

Be sure to check out the whole video tutorial for more details.
Thank you for stopping by!


先日はありがとうございました。
返信削除ブログ拝見しました。
chibitronicsの手軽さに感動しております。
またどちらかでお会いできることを楽しみにしております。
ではまた
こちらこそ、お会いできてよかったです。chibitronics、ぜひ、作品に取り入れてみてくださいね。何か質問などありましたらお気軽にご連絡ください。
返信削除