Today I make light up treat box using Lawn Fawn scalloped treat box dies.
This treat box has thin circuit so you can put sweets inside.
The basic version glows only on the front side and the advanced version glows all sides.
First of all I will make a basic version.
The stamps and dies I used are here.
"scalloped treat box lawn cuts"
"scalloped treat box haunted house add-on lawn cuts"
"push here"
What you need to make a light up card is like this.
"Chibitronics Red, Yellow, and Blue LED Sticker Pack"
"3V coin cell battery"(CR1616)
"5mm wide Copper tape"
The used cardstock is here.
"jack-o'-lantern line dance"
In addition, I used plain card stock of similar color and black card stock, white vellum paper.
Die cut a pattern paper with a treat box die.
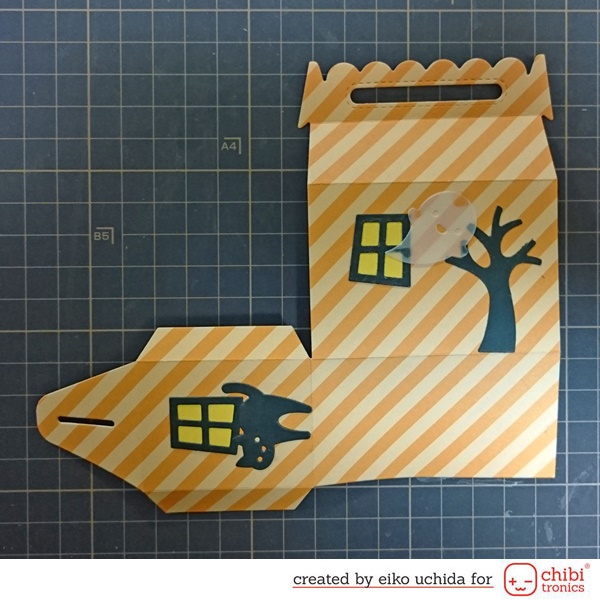
Die cut a treat box part with the door and window dies.
I will make the parts referring to the picture below.
(1) Vellum paper for adhering from the back of the door and window
(2) 2 roofs, 4 windows, 1 door, 1 doorknob, large and small bat, 1 cat, 1 tree
(3) 1 ghost (vellum paper)
(4) 3 yellow parts for windows
(5) Switch parts (two 0.5 x 0.5 inch)
(6) Pull tab parts (two 0.5 x 2 inches)
(7) Orange cardstock for circuit (2 x 3 inch)
I'm putting treat box part on orange cardstock and marking my lights with a pencil.
Write the position of the Chibitronics and the battery, and make a slit as shown in the lower right part.
And draw the circuit with a pencil.
Adhere the copper tape on the drawing path.
Adhere a double-sided tape on the position of the battery, peel off the release paper, adhere the copper tape on the minus side on it, fold back and cut it.
Place the battery on the copper tape with the positive side up and adhere the plus side copper tape on the battery.
Adhere yellow Chibitronics LED stickers.
Fold the paper of the switch part in half and insert it into the slit.
Position the switch part to the right end of the slit and adhere the copper tape to the same position as the copper tape attached to the circuit paper.
Adhere the copper tape around the switch part.
Make cross-shaped parts like this.
Insert the switch part into the slit.
Adhere the pull tab parts on the switch parts with double sided tape.
Adhere the two pull tabs with double-sided foam tape.
Adhere a foam tape on the circuit card base.
Adhere vellum paper on the back of the door and window.
Adhere the door, window and bat parts.
Adhere the window and the remaining parts on another treat box.
In the part indicated by the arrow of the treat box, make a slit for the pull tab.
Adhere the two treat box parts and apply double-sided tape to flap.
Adhere the flap of the part with the slit.
Through a pull tab on the slit, adhere the circuit-attached card base to the treat box.
Pull the circuit card base a little and adhere the next flap.
Adhere the next flap.
Adhere the roof parts on the treat box.
I finished it!
Using a pull-tab switch and a thin battery can make a thin circuit.
So you can put things inside.
Be sure to check out the whole video tutorial for more details.
Next time I will make a treat box where all sides shine.
On the Chibitronics blog, members of the design team alternately make various cards and announce it.
I hope you will enjoy it!


0 コメント:
コメントを投稿