
Today I make light up skeleton shaker card using Chibitronics and Lawn Fawn stamps and dies.

I'm using these stamps and dies.
"Lawn Fawn little fireflies""Lawn Fawn little fireflies lawn cuts"
"Lawn Fawn push here"

"Lawn Fawn outside in stitched star stackables"
"Lawn Fawn stitched star frames"

What you need to make a light up card is like this.
"Chibitronics Pink, Orange, and Green LED Sticker Pack"
"Chibitronics Red, Yellow, and Blue LED Sticker Pack"
"3V coin cell battery (CR2016)"
"5mm wide Copper tape"
"Conductive Fabric Tape Patche"
"Conductive Thread"

I'm using these supplies.
"Hot off the press heat resistant acetate"
"Foamies foam sheet 2mm thick white"
"White vellum paper"
"Light green cardstock"
"White cardstock"

"Lawn Fawn hydrangea 12 inch paper"

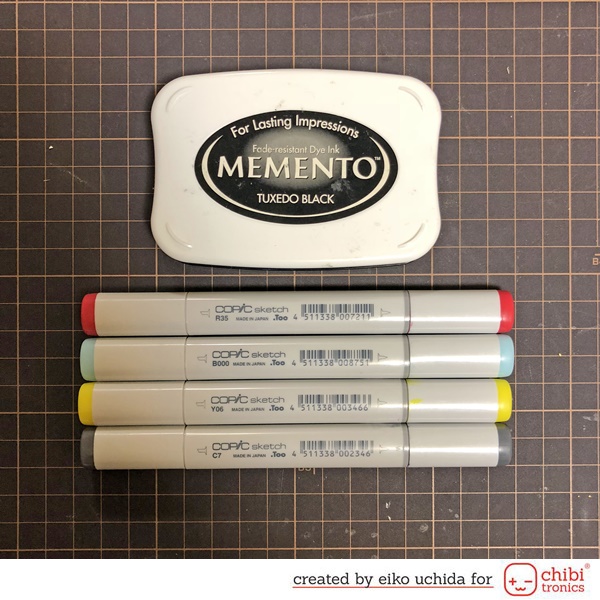
"Tsukineko memento tuxedo black"
Copic markers (R35, B000, Y06, C7)
I will make the parts referring to the picture below.

- Die cut pattern paper with star frame die.
- Die cut foam sheet with star frame die.
- Die cut acetate sheet with large star die.
- Die cut light green paper with small star die and stamp the sentiment.
- Die cut foam sheet with small star die.
- Switch part.
Stamp the fireflies onto white cardstock.

- Stamp the fireflies onto white cardstock.
- Color the fireflies with Copic markers.
- Cut out the fireflies’ butts with a craft knife.
- Adhere vellum paper on the back of the butts.
- Apply double-sided tape on the back of the fireflies.
Die cut the fireflies with coordinating
die.

Cut the Chibitronics.

I will explain how to cut using this model
of Chibitronics.
(Clean off the adhesive on the back of the
Chibitronics.)
- Write the position of the LED and resistor.
- Draw the cut line.
- Leave one of the two circuits connected to the positive electrode.
- Cut along the line with scissors.
The making video is here.
Make a hole with a needle in the electrode.

Pass the conductive thread through the
hole and tie the thread.

Adhere the finished part on firefly part.

Adhere the conductive fabric tape on the
tie.
Put the positive side thread upwards.
Put the negative side thread downward.
Make the same three.

Make the shaker part.

- Adhere the star frame foam sheet on the acetate sheet with glue.
- Adhere the little star foam sheet inside the bottom of the acetate star.
- Adhere the switch part on the center of the little star foam sheet.
Make the circuit.

Adhere the copper tape on the star frame.
Adhere firefly parts on the frame with conductive fabric tape.

Fold the upper side thread and adhere the
conductive fabric tape on top.

Adhere the lower side thread inside the
switch with conductive fabric tape.

Put the Scotch tape on the thread so that
the thread does not touch the side of the battery.
Adhere a new conductive thread on the
positive side.

Adhere the conductive fabric tape on the
conductive thread.
Fold the thread and adhere the conductive
fabric tape on top.
Adhere the conductive fabric tape over the
conductive thread on the switch part.

Adhere the thread up to the inside of the
switch part without cutting it.

Adhere the small star foam sheet on the
switch using glue.
Adhere another foam frame on the foam frame
using glue.

Place the battery inside the switch part with the positive side up.
Insert rhinestones and adhere the acetate sheet on the foam frame.

Adhere the star frame and small star part on the acetate sheet.

Do the same on the back side.

I finished it!
When you push the switch, the fireflies
glow.

Be sure to check out the whole video tutorial for more details.
Thank you for stopping by!


0 コメント:
コメントを投稿