
Today I will make little owl plush with Chibitronics LED stickers and conductive thread.
I'm using this plush die.
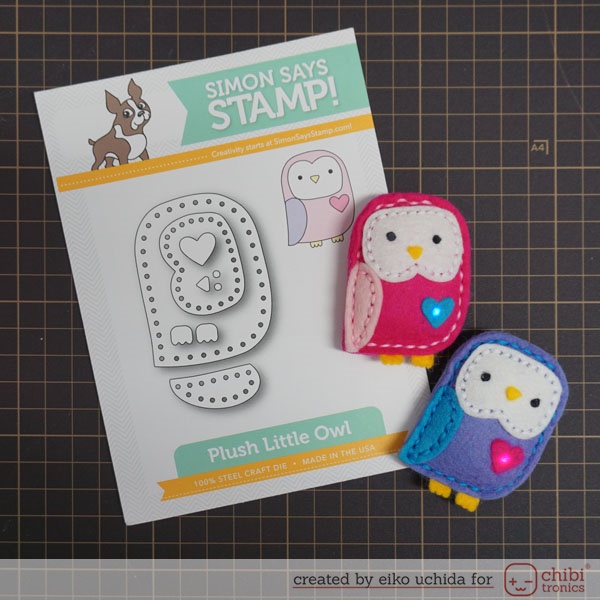
I'm using Simon Says Stamp "Plush Little Owl Wafer Dies"

What you need to make a light up plush is like this.
"White LED stickers pack"
"3V coin cell battery"(CR2032)
"Conductive Thread Bobbin"
"Sewable Coin Cell Battery Holder - 20mm"
"LilyPad Slide Switch"

I made a circuit with a slide switch this time.
I'm using color felt, embroidery thread and fiber stuffing.

I'm die cutting all parts using dies.
Die cutting three body parts and cutting the top of one piece.

Place wing, face and heart parts on the body parts.

I'm punching a hole in the center of the heart parts.

I'm sewing the wing and face parts to the body parts with embroidery thread.
And adhering eyes, beak and foot parts with bond.

Place a battery holder and a slide switch on the body parts.

I carefully clean off the adhesive on the bottom of the Chibitronics LED sticker.

Stickers have small starter holes in each pad help a sewing needle pass through easily.
I'm making a circuit with this conductive thread like a copper foil tape.

The conductive thread is made of stainless steel fiber and conducts electricity.
I'm writing the circuit diagram.

I'm putting the slide switch on the negative side of the circuit.
Make sure that the two pieces of conductive threads do not touch or cross.
First, I'm sewing the negative side of the LED sticker to the felt with conductive thread.

Without cutting this thread, sew through the fabric until the thread is at the bottom of the body parts.
Next I'm sewing the positive side of the LED sticker with another new conductive thread.This side is like this.

Sew the positive end of the battery holder with conductive thread of the positive side.

Looking through from behind, the battery holder is in this position.

Make sure to loop through the hole on metal leg of the battery holder several times and tie a knot to secure.

Sew between the negative end of the battery holder and the slide switch with another new conductive thread.

Looking through from behind, the battery holder and the slide switch are in these positions.

This side is like this.

Sew the slide switch with conductive thread of the negative side.

Looking through from behind, the battery holder and the slide switch are in these positions.

This side is like this.

When the switch is turned on, the LED will light up.

Place the third piece of fabric over the back of the body parts, so that it hides the battery holder and slide switch.

I'm using the embroidery thread to sew along the edge of the body parts, and stuffing fiber stuffing in body parts.

Sewing is over.

Battery holder and slide switch are inside.

I'm splitting the heart parts to make it thinner.

I'm adhering a heart parts with bond.

I finished it!
Sewing a safety pin on the back side makes brooch.

Changing the position of the beak and eyes changes the expression very much.

Be sure to check out the whole video tutorial for more details.
Thank you for stopping by!


0 コメント:
コメントを投稿